
SignalStore is a modern, lightweight state management solution introduced in Angular 17+ that leverages Angular’s new signals system. Unlike traditional tools like NgRx, which rely on complex layers such as actions, reducers, and effects, SignalStore adopts a more intuitive and functional approach. It simplifies state handling with reduced boilerplate, enforces immutability, enhances performance through fine-grained reactivity, and integrates seamlessly within components or services.
Managing application state efficiently continues to be one of the most critical and challenging aspects of new-age front-end software development. When we talk about the Angular ecosystem, NgRx has long been the hero solution for handling complex states. Yes, it’s powerful and scalable, but it comes with a steep learning curve. That is, developers often find themselves navigating through various layers of Actions, Reducers, Selectors, and Effects. These can quickly add to the project’s complexity. That’s where SignalStore steps in—a new approach that’s lighter, more intuitive, and built with modern Angular in mind.
In this blog, you’ll explore everything that you need to know about SignalStore, starting from its core advantages to how you can set it up in your Angular projects. Furthermore, you’ll also find steps to creating a SignalStore and learn key best practices, including when it makes sense to use it—and when it might not.
So, let’s get started!
What is SignalStore?
SignalStore (introduced in Angular 17+) is a fully featured and lightweight state management solution offering a modern, signal-based approach in a concise and minimalistic manner to provide a robust, more intuitive and efficient way to manage application state.
Where other traditional state management solutions follow class-based state management techniques, SignalStore follows a functional and declarative paradigm. It allows developers to focus on building reactive applications with its native support for Signals, which provides the ability to define stores in a clear and declarative manner.
Thanks to its simplicity, flexibility, and opinionated yet extensible architecture, SignalStore stands out as a highly adaptable solution for managing state in Angular applications. It’s particularly well-suited for modest-sized states and integrates seamlessly within components, services, or even standalone functions.
Onwards to know about the advantages of using SignalStore!
What Are the Major Advantages of Using SignalStore?
Here are the key advantages software developers can leverage with SignalStore:
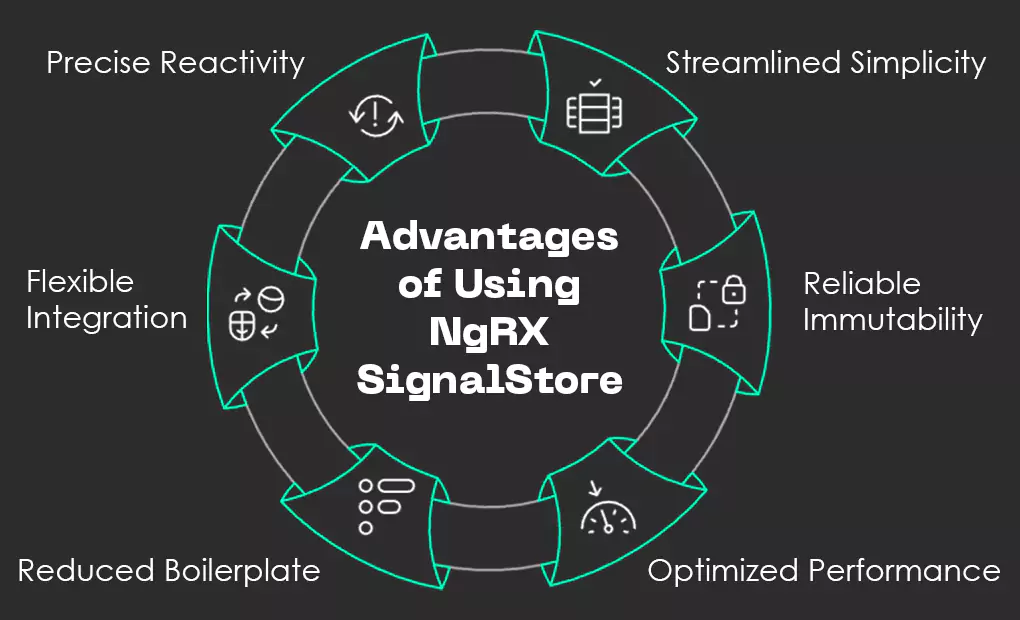
Fig: Advantages of Using NgRX SignalStore
1. Streamlined Simplicity
SignalStore is designed with simplicity at its core. Unlike traditional class-based approaches, where developers must manage multiple layers such as actions, reducers, and selectors, SignalStore uses a more streamlined, functional API.
This approach eliminates unnecessary complexities and allows developers to define, update, and interact with application state in a more natural and readable way. It reduces mental overhead, especially for those new to Angular or state management in general. This makes the overall codebase much cleaner and easier to navigate.
2. Reliable Immutability
Maintaining immutability in the application state is essential for predictable behavior, easier debugging, and performance optimization. SignalStore enforces this principle by ensuring that every state change results in a new state object rather than modifying the existing one.
This helps prevent side effects and unexpected bugs, especially in complex applications where different components might depend on the same state. Developers can trust the data flow and trace how the state changes over time. This leads to better code quality and reliability.
3. Optimized Performance
It harnesses the power of Angular’s signals to deliver fine-grained reactivity. What this means is that it only re-renders the specific parts of your UI that are directly affected by a change in state. This precise update mechanism ensures that your application performs efficiently, with minimal DOM updates and faster response times.
In performance-critical applications, this level of optimization can significantly enhance the user experience by reducing lag, increasing responsiveness, and keeping the app lightweight.
4. Reduced Boilerplate
One of the major hurdles developers face with NgRx is the amount of boilerplate code required—setting up actions, reducers, selectors, and effects just to manage a piece of state. SignalStore dramatically reduces this overhead.
With a more intuitive setup, teams can implement state management quickly without compromising on structure or maintainability. This is particularly beneficial in projects where time-to-market is critical or where teams are looking for a lighter state management alternative.
5. Flexible Integration
It provides developers with the flexibility to customize their state management setup according to the project’s needs. Whether it’s integrating with RxJS for advanced reactive flows or creating tailored features to handle unique data patterns, SignalStore allows for modular and adaptive implementations.
This makes it suitable for both small-scale applications and enterprise-level projects. Developers aren’t locked into one way of doing things—they have the freedom to combine patterns and tools in a way that best fits their architecture.
6. Precise Reactivity
One of the standout features is its ability to enable fine-grained reactivity using Angular’s signal system. This means that when a specific piece of state changes, only the components that depend on that exact slice of data will react and re-render.
This targeted update strategy minimizes unnecessary computations and DOM updates, which is key to maintaining smooth performance. It’s a smart way to scale applications without degrading user experience, especially as your state logic becomes more complex.
Now that you have a clear understanding of the basics, let’s dive into how you can create a SignalStore and get started using it in your Angular application.

From idea to interaction, develop the art of great front-end development. Compare how Angular, React, and Vue stack up in performance, scalability, and developer experience.
How To Create and Use a SignalStore in Angular
To create a Store, here are the steps that you need to follow:
1. A SignalStore is established through the signalStore function, which takes in a series of store features as input.
2. By integrating these features, the SignalStore acquires state, attributes, and functions, enabling a versatile and scalable store setup.
3. Depending on the features incorporated, the SignalStore function produces an injectable service that can be supplied and utilized wherever necessary.
4. Next, the withState feature facilitates the inclusion of state segments within the SignalStore. This requires you to pass an initial state as an argument.
5. Similar to signalState, the state must be defined as a record or an object literal.
With your store defined, the next step is to put NgRx SignalStore into action. Here’s how you can do it:
Step 1: Install SignalStore in your Angular project using this command:
npm install @ngrx/signals
Step 2: Define a Store
Next, create a store using this SignalStore function:
employees.store.ts:

import { signalStore, withState } from '@ngrx/signals';

import { employees } from ‘./employees.model';

type employeesState = {

employees: employees[];

isLoading: boolean;

filter: { query: string; order: 'asc' | 'desc' };

};

const initialState: employeesState = {

employees: [],

isLoading: false,

filter: { query: '', order: 'asc' },

};

export const employeesStore = signalStore(

withState(initialState)

);
Note: For each state slice, a corresponding signal is automatically created. The same applies to nested state properties, with all deeply nested signals being generated lazily on demand.
Step 3: Use the Store in a Component
To use your SignalStore in a component, begin by injecting it and binding the necessary state to your template.
a. Component-level injection:
You can provide the store at the component level, which ties its lifecycle directly to the component. This is ideal for managing local or component-specific state. Here’s how you can do it:
employees.component.ts:

import { Component, inject } from '@angular/core';

import { employeesStore } from ‘./employees.store';

@Component({

/* ... */

// Providing `employeesStore` at the component level.

providers: [employeesStore],

})

export class EmployeesComponent {

readonly store = inject(employeesStore);

}
By scoping the store to the component, you ensure that its lifecycle is tied to that specific component, keeping the state localized and easier to manage.
b. Global-level injection:
Alternatively, if you need a shared store instance across multiple components or services, you can register it globally by setting the providedIn property to ‘root’ when defining the store. Here’s how you can do it:
employees.store.ts:

import { signalStore, withState } from '@ngrx/signals';

import { employees } from ‘./employees.model';

type employeesState = { /* ... */ };

const initialState: employeesState = { /* ... */ };

export const employeestore = signalStore(

// Providing `employeestore` at the root level.

{ providedIn: 'root' },

withState(initialState)

);
The store is registered with the root injector and becomes accessible throughout the application. This is beneficial for managing the global state, as it ensures a single shared instance of the store across the entire web application.
Step 4: Reading the State
To display the state values in your component template using the store instance that was injected earlier, here’s what you need to run:
Employees.component.ts:

import { ChangeDetectionStrategy, Component, inject } from '@angular/core';

import { JsonPipe } from '@angular/common';

import { employeesStore } from ‘./employees.store';

@Component({

imports: [JsonPipe],

template: `

<p>Employees: {{ store.employees() | json }}</p>

<p>Loading: {{ store.isLoading() }}</p>

<!-- The `DeepSignal` value can be read in the same way as `Signal`. -->

<p>Pagination: {{ store.filter() | json }}</p>

<!-- Nested signals are created as `DeepSignal` properties. -->

<p>Query: {{ store.filter.query() }}</p>

<p>Order: {{ store.filter.order() }}</p> `,

providers: [EmployeesStore],

changeDetection: ChangeDetectionStrategy.OnPush,

})

export class EmployeesComponent { readonly store = inject(employeesStore); }
So, the above setup of SignalStore demonstrates the simplicity and power of SignalStore in managing component state reactively.
Not sure if SignalStore is the right fit for every scenario? Hold on—before I conclude, I’ll walk you through when to use it and when to skip it in the next section.
Keep reading!
When Should YouUse SignalStore?
Here are the situations wherein SignalStore works the best:
- SignalStore shines in projects that don’t have overly complicated state needs. It packs just the right amount of power without the extra weight of a full-fledged state management system.
- If you’re looking for a lightweight alternative to NgRX that still embraces reactivity and follows Angular’s best practices, SignalStore keeps everything neat and makes it easy to handle.
- For apps where state changes are predictable and don’t require complex flows or heavy middleware, SignalStore provides a smooth and efficient solution.
Here are the situations wherein SignalStore might not be the best fit:
- If your application relies on a strict event-driven architecture, you might find out that SignalStore doesn’t stack up against more powerful alternatives like NgRx.
- If you’ve been using NgRX with features like Effects or custom middleware, switching to SignalStore might not be the best option. This could hamper the maintenance procedure.
In the future of state management for Angular, SignalStore will keep emerging as a simpler and more intuitive alternative to NgRx. While it may not replace NgRx entirely, it will offer an appealing option for developers looking for ease of use. Apart from that, there’s room for improvement, especially in areas like DevTools support and more seamless handling of asynchronous state, which could further boost its overall functionality.
So, the best state management option will depend on the size and the complexity of your project. My advice would be to take your time and evaluate your needs carefully to go with your preferred option.
If you have any questions or need guidance choosing the right state management option, feel free to reach us at Nitor Infotech.
Quick info: With our advanced engineering expertise, we at Nitor, specialize in building exceptional software products tailored to specific requirements with cutting-edge tools and technologies. Partner with us today – contact us.


