Continuous Integration (CI) is a practice which allows developers to seamlessly merge code in a common repository. Continuous Delivery (CD), on the other hand, is a practice that adds a layer to CI by providing multi-stage infrastructure provisioning and deployment which helps in automating the entire software release process.
For Azure data pipelines, CI/CD means nothing but moving data factory pipelines from one environment to another.
In this blog, I will walk you through the process of implementing continuous integration and continuous delivery for pipelines created in Azure Data Factory (ADF).
To begin with, let us first take a look at the high-level architecture:
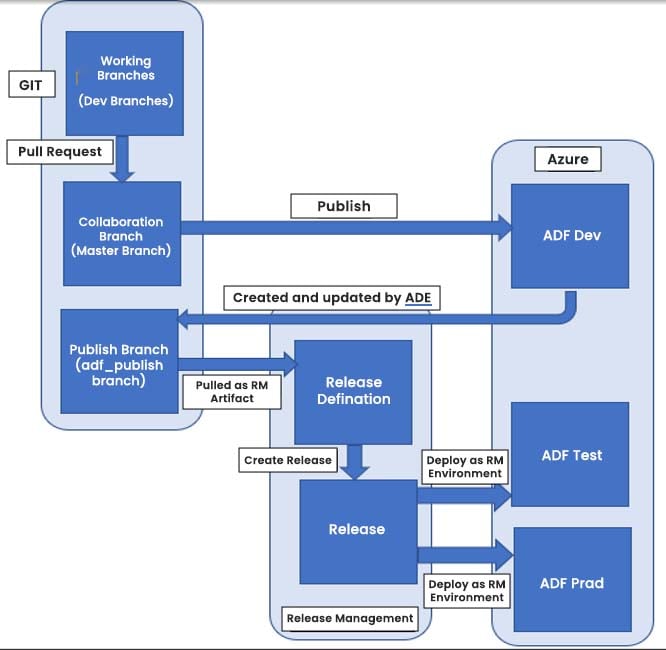
From this, we can concur that the ADF is used to perform ETL/ELT operations on data. To implement CI/CD in ADF, Azure DevOps repository needs to be configured first. As shown in above flow, once the pipeline is developed and published, changes can be pushed in the master branch through Pull Request following which a Release pipeline is created to deploy these changes on Test and Production environments. This is done by configuring environment specific connections, which is elaborated later.
Before we move any further, let me tell you that an Azure DevOps account is a mandatory stepping stone if you want to successfully implement CI/CD in ADF.
Now, since implementing CI/CD is the main target of this blog, we will create and use a simple ADF pipeline.
Here are the steps for it:
1. Configure Azure DevOps repository in ADF:
First and foremost, we will create an ADF pipeline in Dev environment and then will deploy it in a QA environment through CI/CD process.
i. Create resource group for Dev environment:
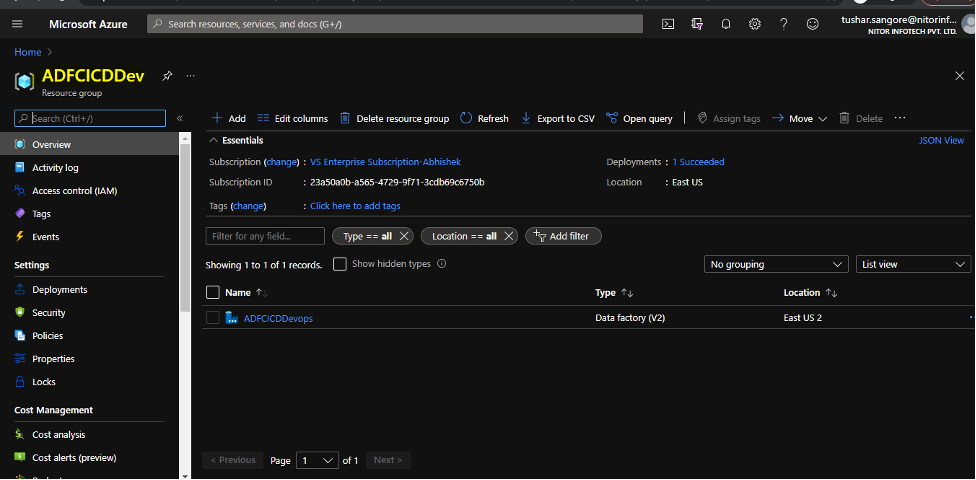
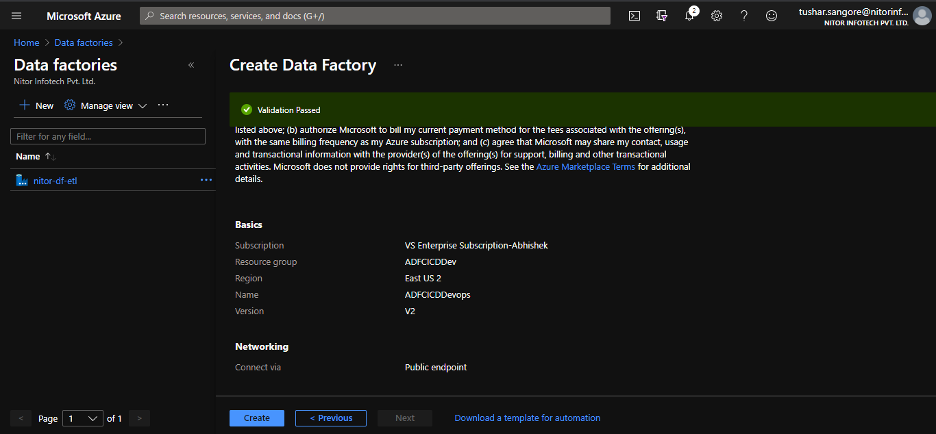
ii. Create ADF instance under Dev resource group:
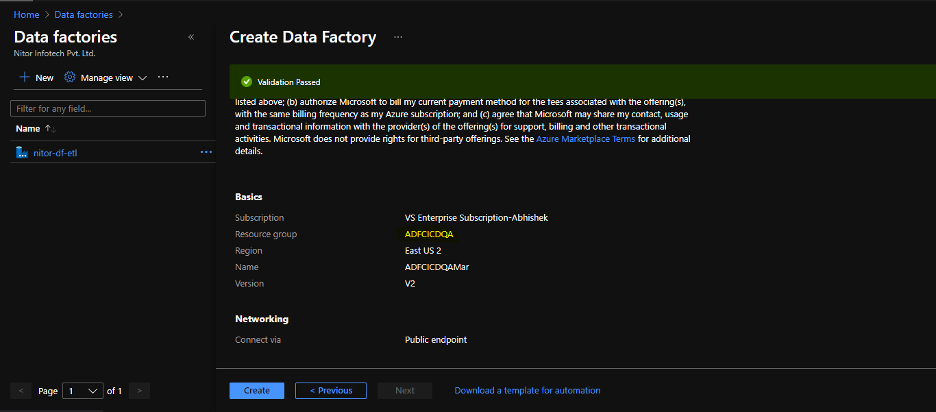
iii. Create resource group for QA environment

iv. Create an ADF instance on QA environment:
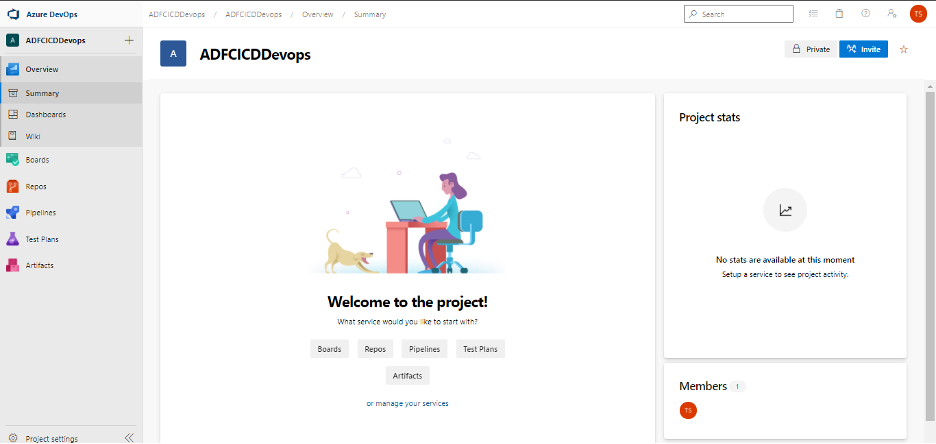
v. Now, create new project in Azure DevOps as shown in the diagram below:
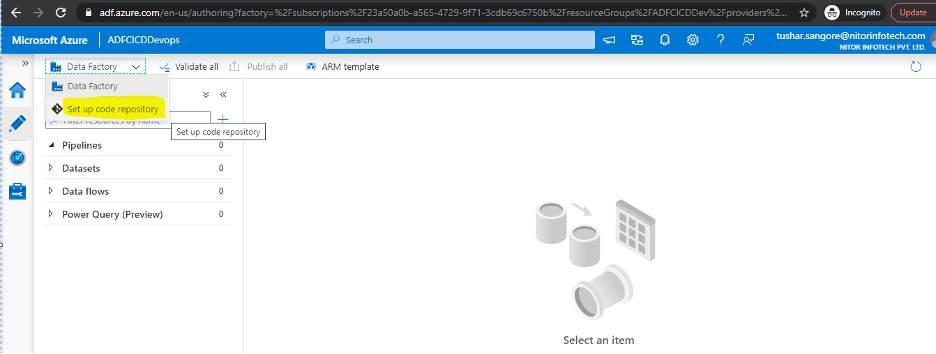
vi. Configure code repository in ADF:
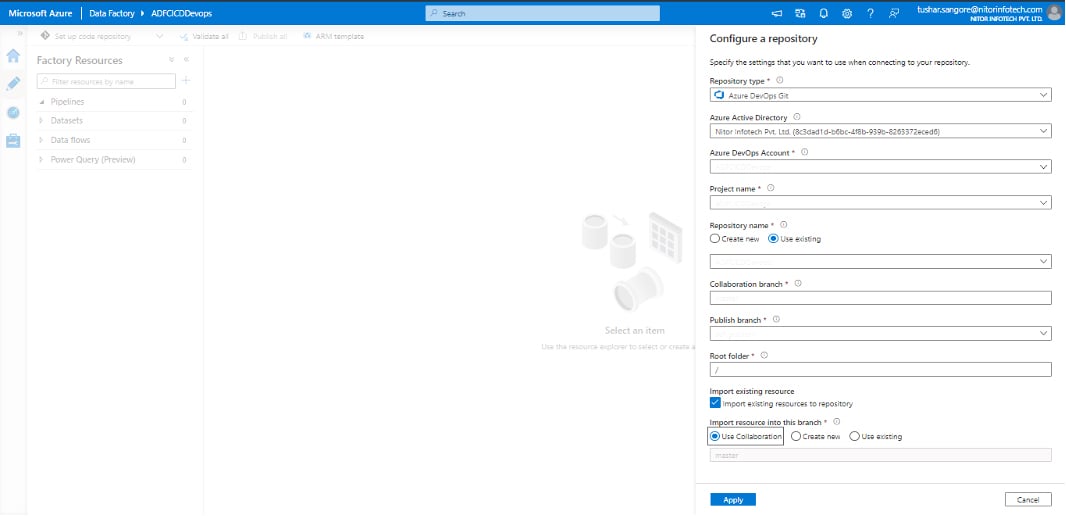
vii. Configure repository as shown in the diagram below:
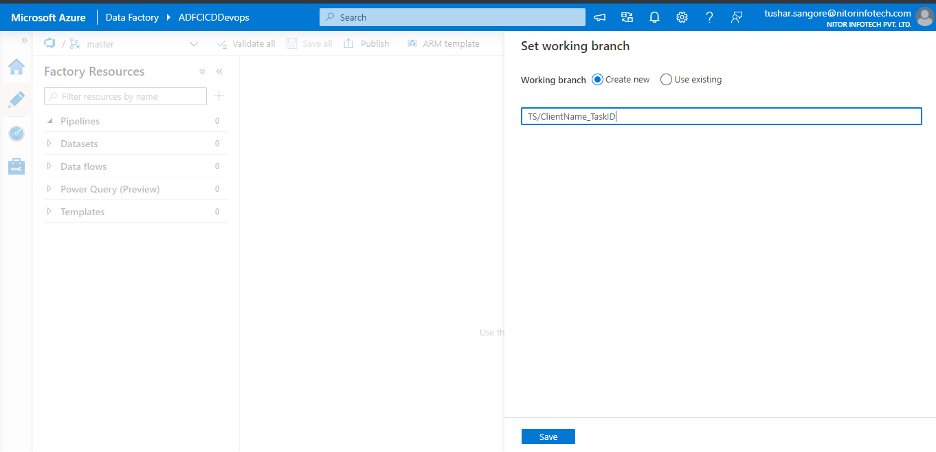
viii. Select a working branch:
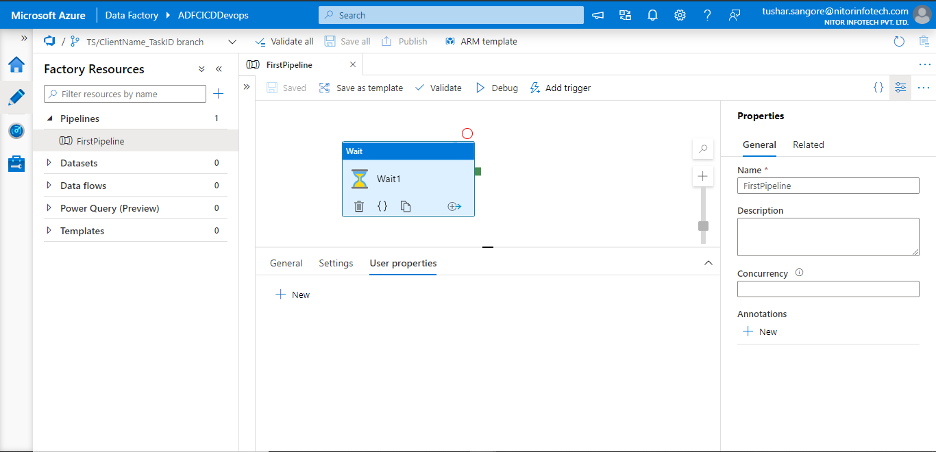
ix. Add a pipeline to the ADF. These changes will be saved in the above branch.
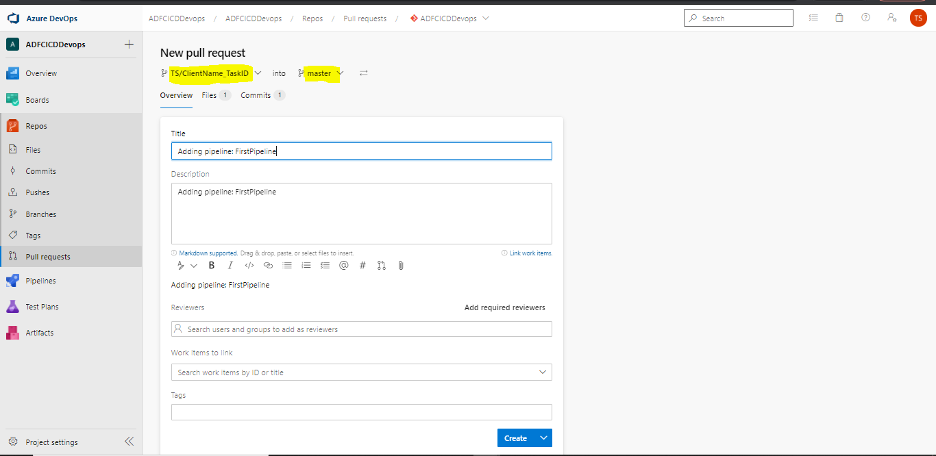
x. Create a Pull request to merge the above branch in master branch:
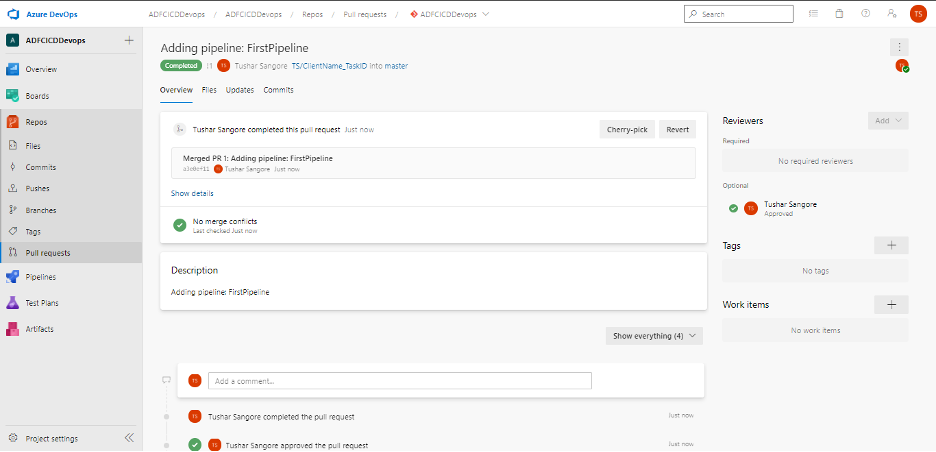
xi. Once this Pull Request is approved, changes will be merged into master branch:
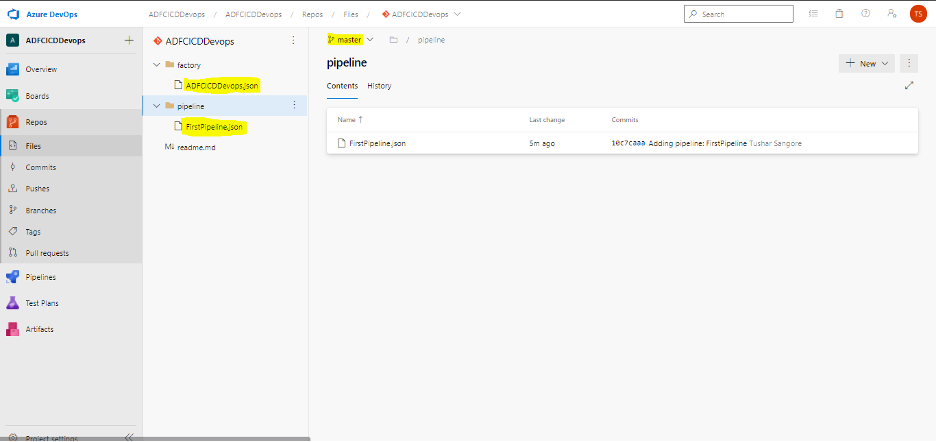
xii. ADF pipeline changes are seen under master branch:
Step 2: Creating Release Pipeline in Azure DevOps:
i. Go to Pipeline section in Azure DevOps:
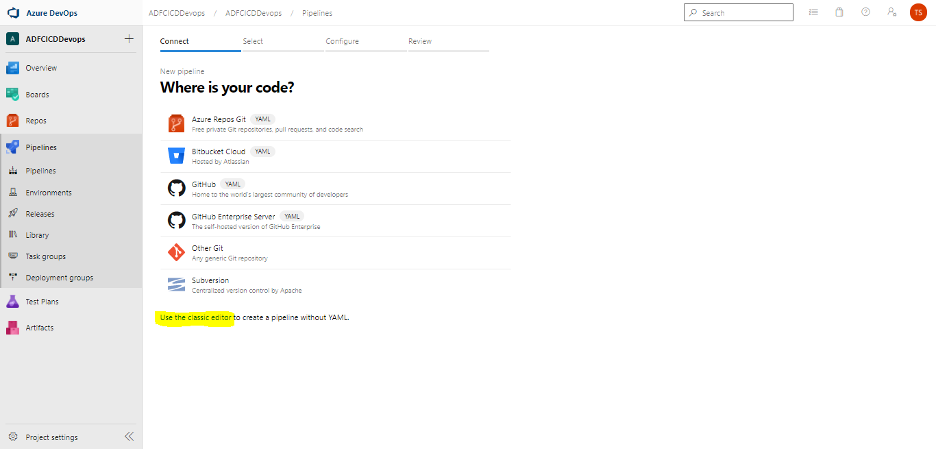
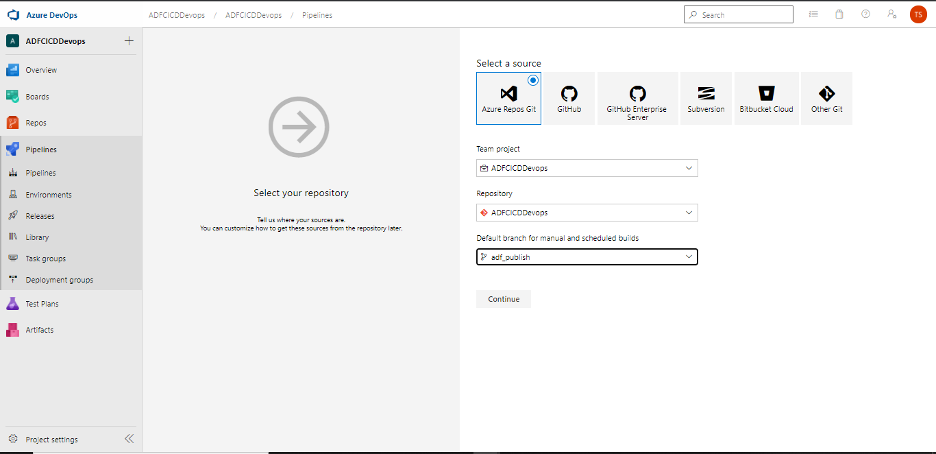
ii. Fill in the details as shown below:
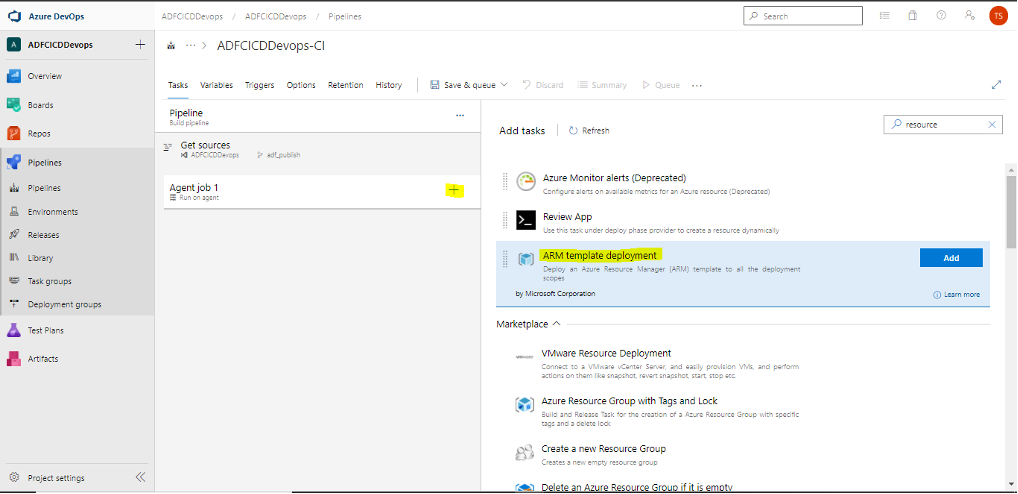
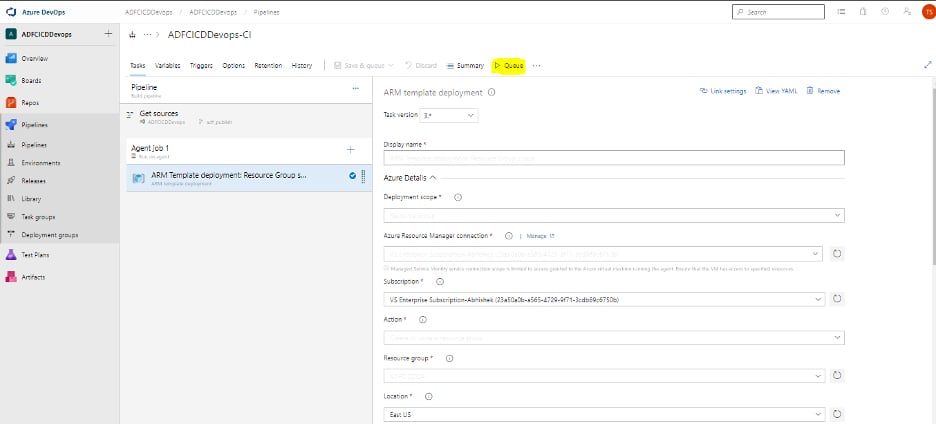
iii. Add and configure steps in Agent Job:
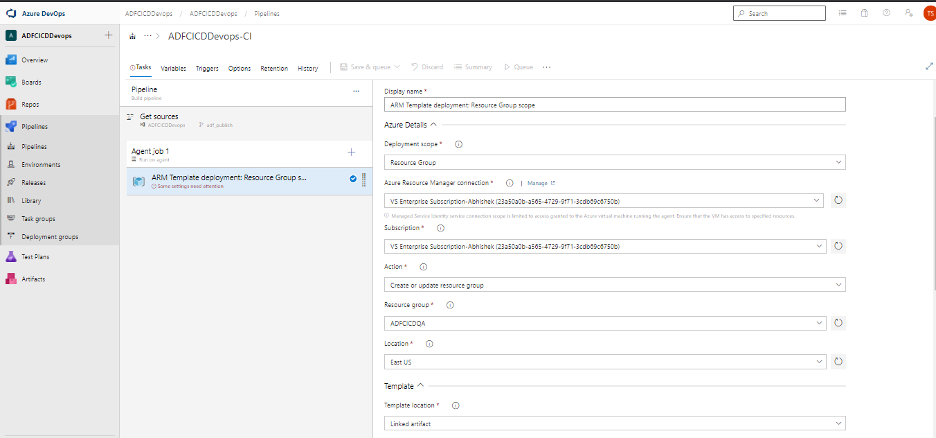
iv. Configure the pipeline as mentioned in below diagram:
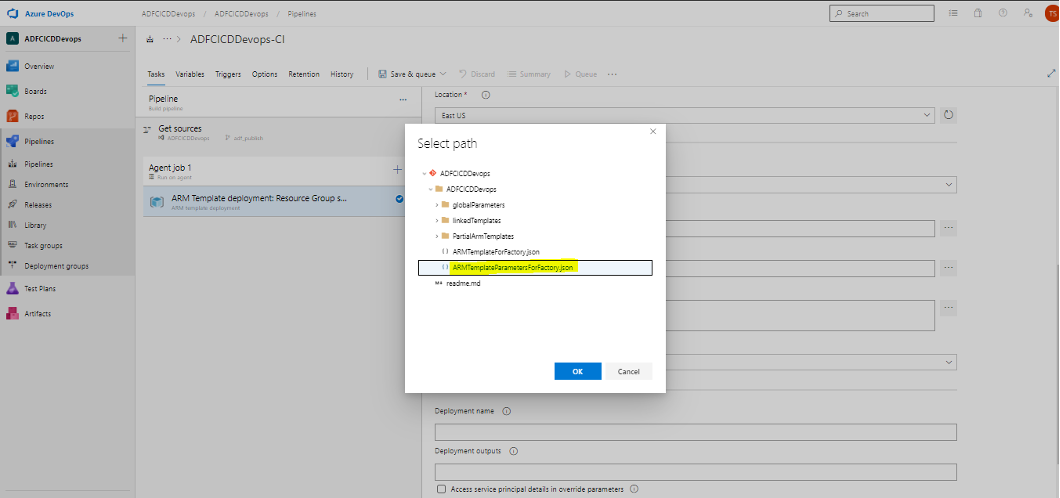
v. For configuring templates, click on the eclipse button and select ArmTemplateforFactory json file.

vi. For configuring template parameter section, click on the eclipse button and select ArmParameterTemplateforFactory json file.
vii. Parameter override section:
Provide the name required in QA environment ADF instance.
viii. In order to enable continuous integration, enable below option in trigger section.

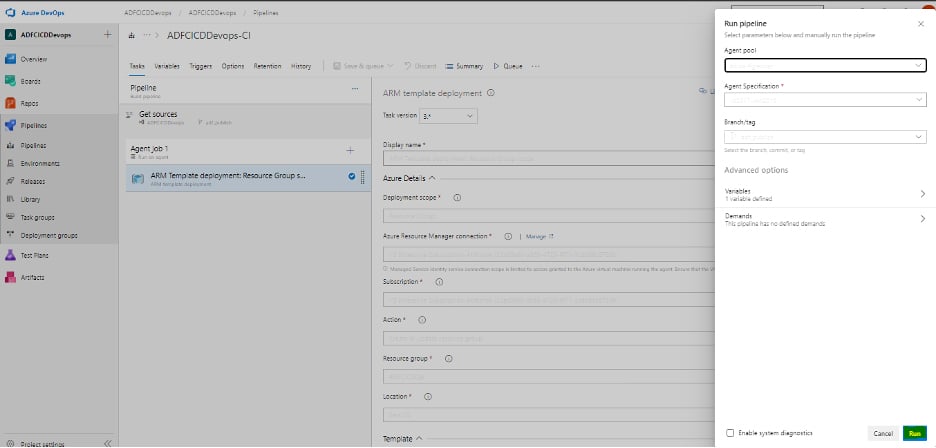
ix. Once completed, click on Save button:
x. Click on run to build artefacts of the pipeline:
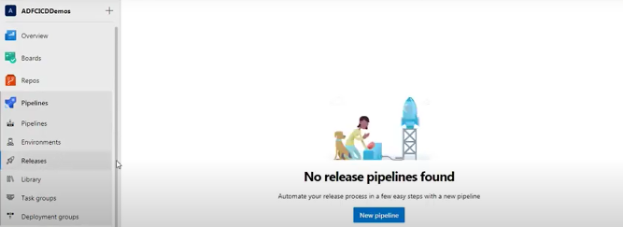
Step 3: Creating the final release:
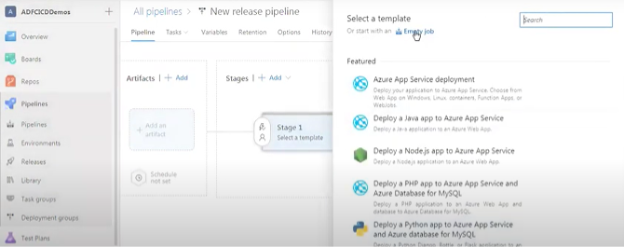
i. Click on new Pipeline:
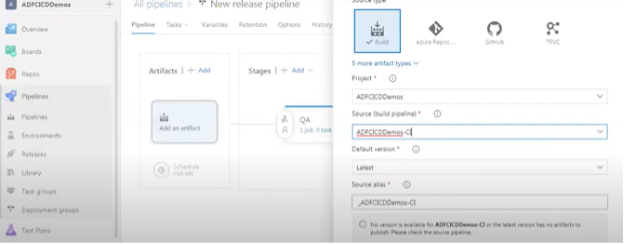
ii. Once clicked on new Pipeline, configure the Release pipeline as shown below:
iii. In stage section add QA instance name:
iv. Once configured, click on add as well as on continuous deployment trigger symbol to enable.
v. Now click on configure Stage section -> Job link:
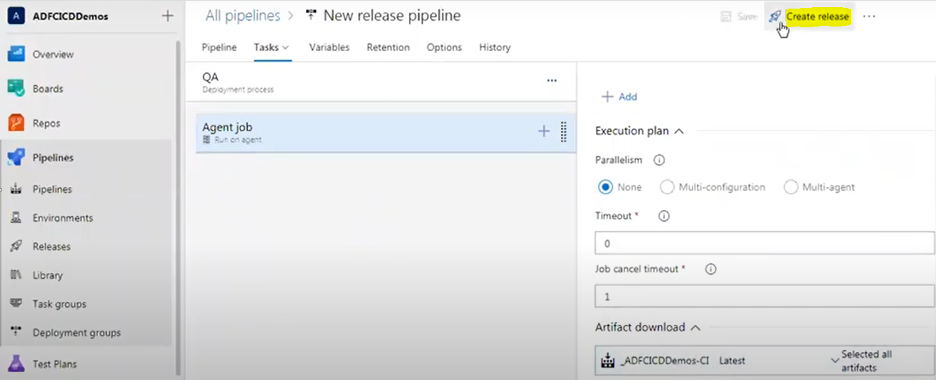
Once this is created, it will add release in queue and will deploy the changes on ADF QA environment.
You can now make changes in Dev environment ADF instance and the same will be released on QA environment ADF instance.
There you have it. Now, that wasn’t so difficult was it?
Reach out to us at Nitor Infotech if you want to learn more about our DevOps offering and how we successfully implemented DevOps for a leading product development company to reduce their defect creation time by 14%.


